Location doesn’t matter!
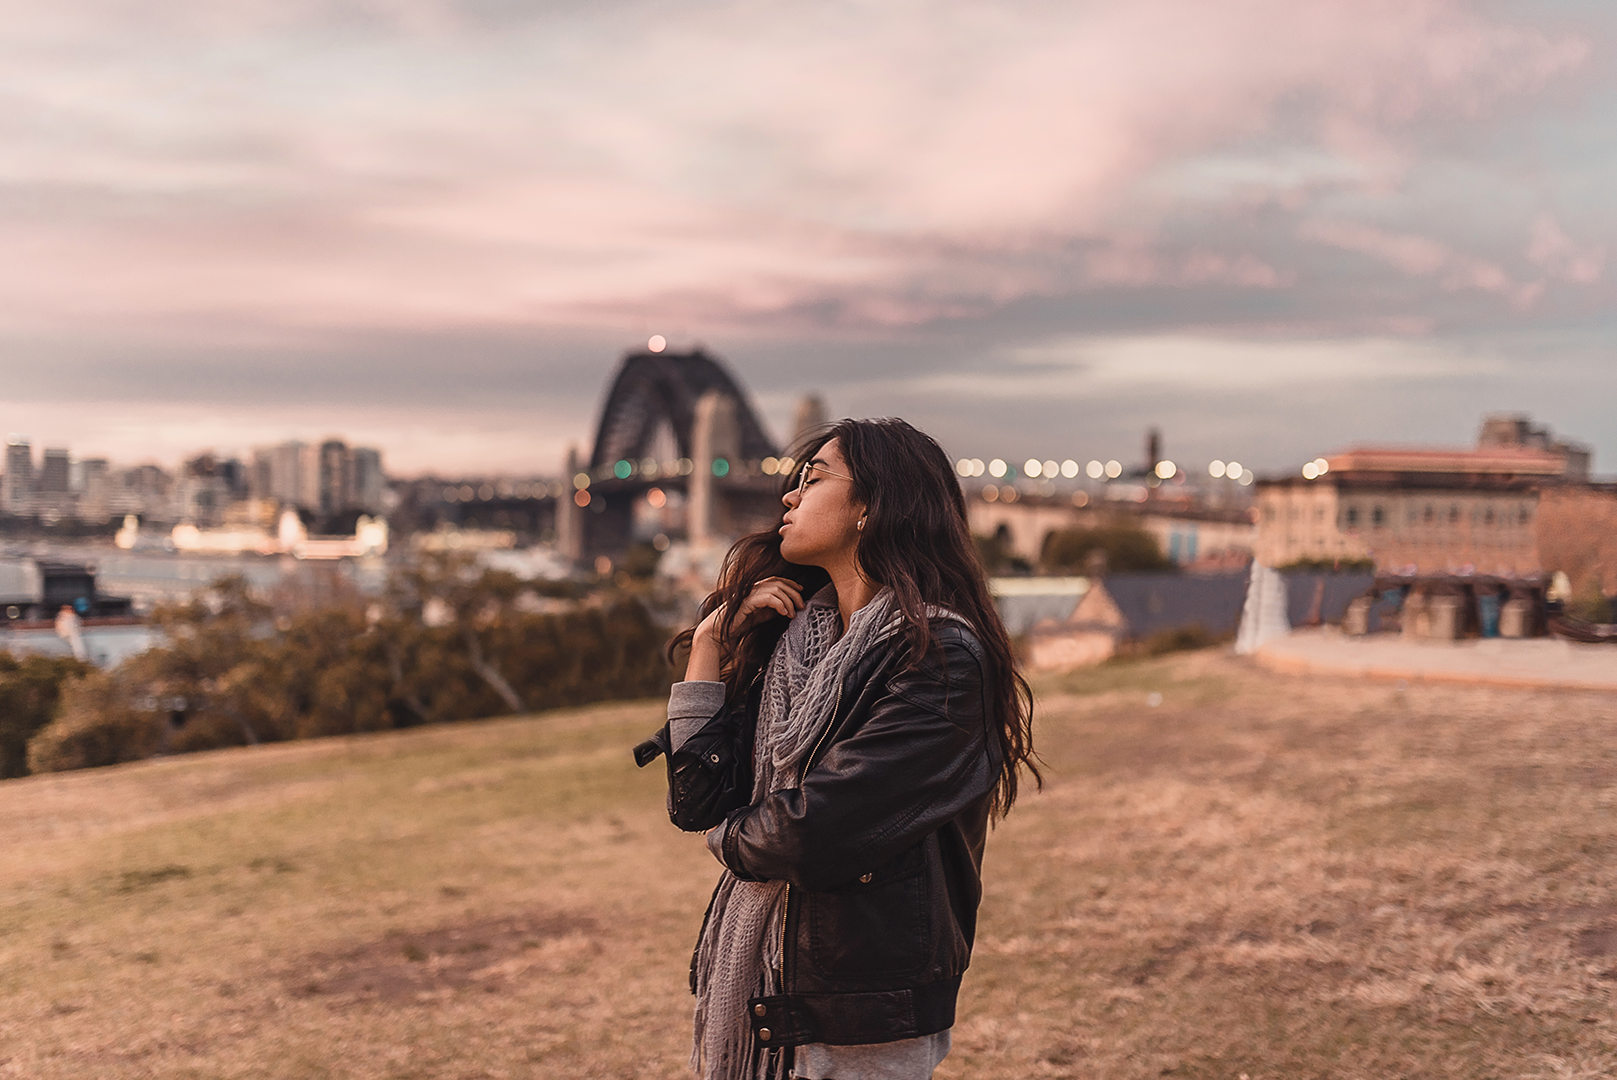
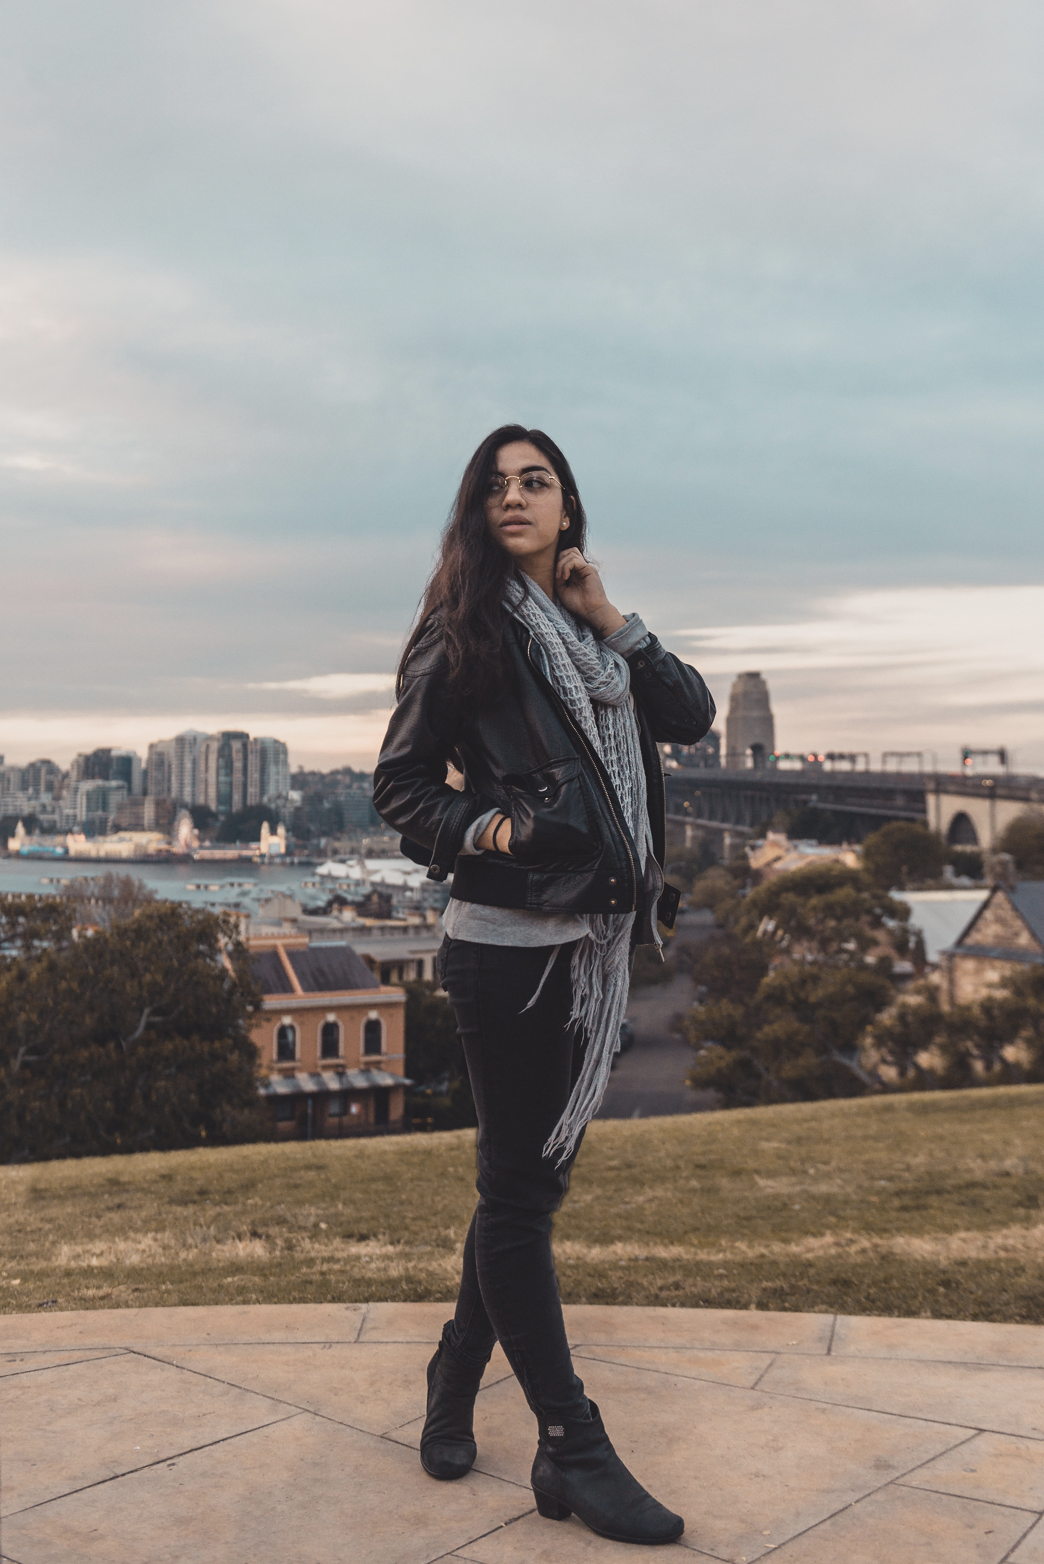
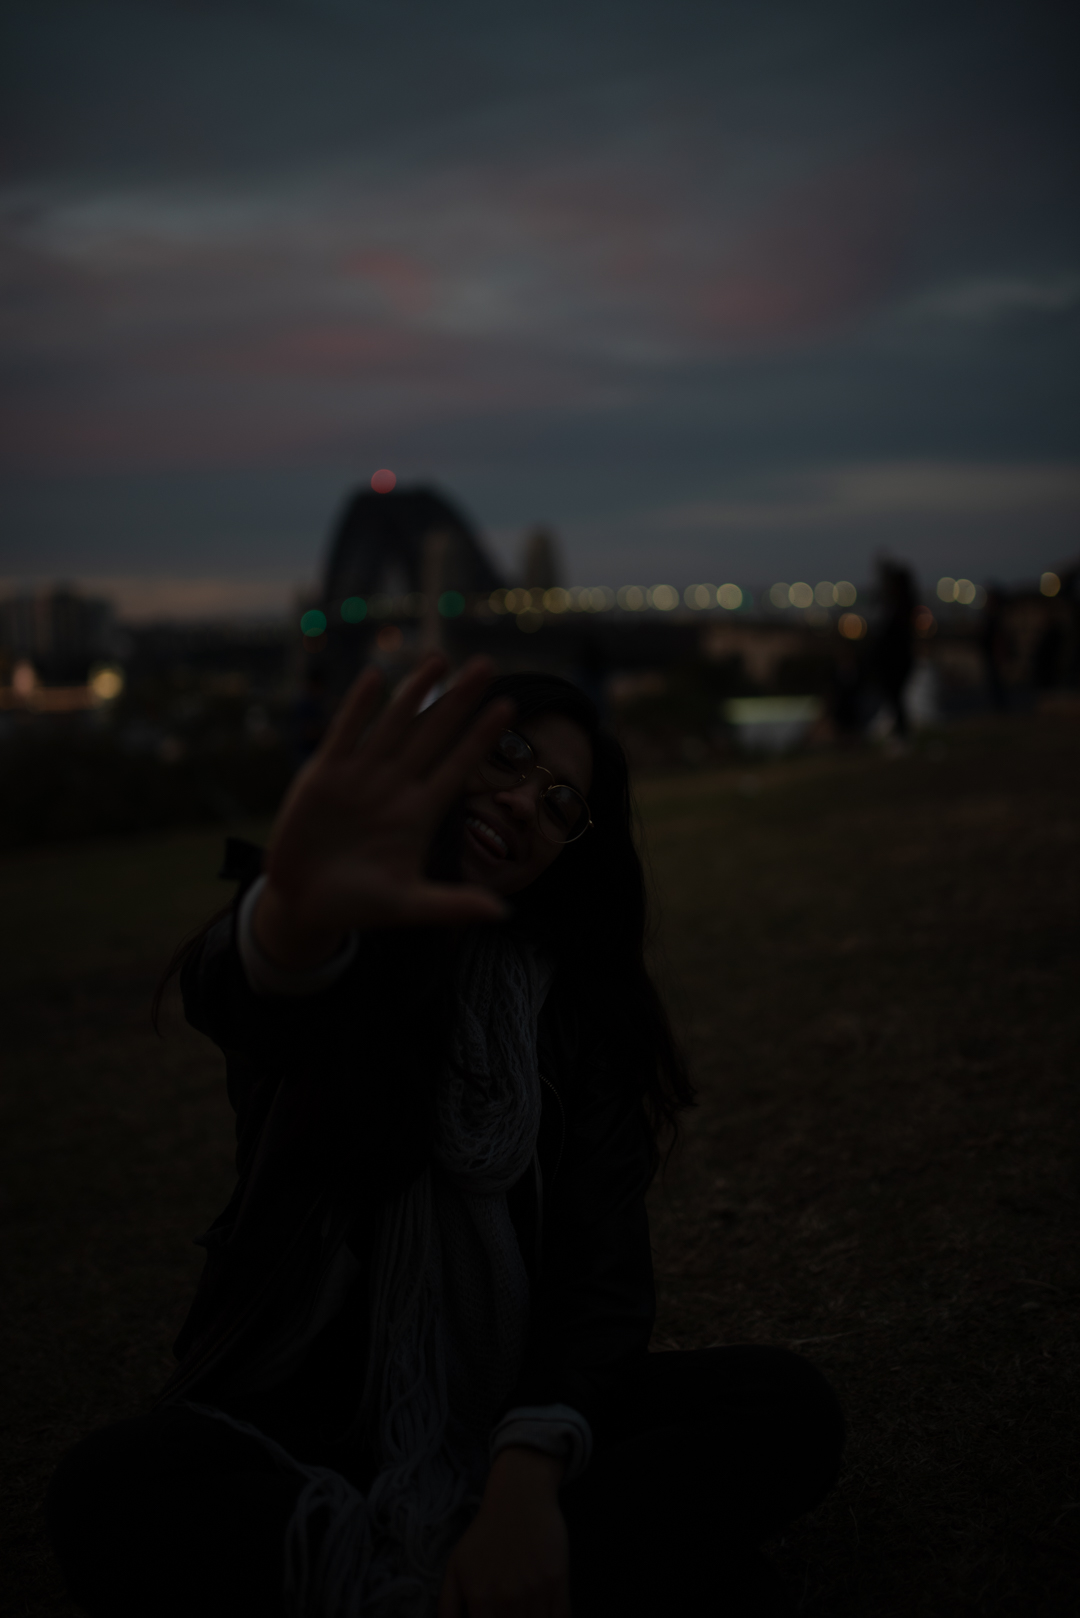
Well, it actually does (Clickbait), but what I am trying to say is that you don’t have to go to multiple locations to get a different range of shots. One good location is enough! Back in May, I got the chance to visit Sydney and met up with another awesome photographer, Chelsea Abbott (@chels.abbott), who showed me around the city. There was one spot that we went to (The Sydney Observatory) which was a prime example that one spot has multiple opportunities for potential shots.
I believe that as Photographers, our job is to create something out of the ordinary and make it extraordinary. See the world from another perspective. In other words, seeing one location and treating it as multiple locations.
So i’m going to give you my TOP 5 TIPS IN MAKING THAT ONE LOCATION LOOK AMAZING!
1. FIND A DIFFERENT POINT OF VIEW
(DON’T BE AFRAID TO SHOOT FROM THE GROUND)
Shooting from different angles and different distances can get you different shots and these shots can completely transform your Photography. For example, shooting from the floor helps when you want to get more of the subject in the frame (Full-Body Shots) and it looks particularly good when you reduce the depth of field (area in-focus) whereas the regular standing shot is a good all-rounder and can be used for almost anything.
2. USE A DIFFERENT LENS
Other than a Camera, Lenses are the most important tool in a Photographers arsenal. There are two types of Lenses that you can buy; A Prime Lens (fixed focal length) or a Zoom Lens.
For me personally, I typically use a Prime Lens as it challenges me to move and look for the shot. They also tend to have a wider aperture, which helps create more separation between the subject and the background and it can let more light in, making it easier to shoot in low light areas.
For most shoots, I bring a wide angle lens, allowing me to shoot in areas that might not have much room and a telephoto lens, that is typically used for portraits and allows you to get closer to the subject while still standing at a respectable distance.
As you can see above, I used a wide angle lens in the first photo. This allowed me to get more of the subject and the background in the frame while shooting from a lower angle.
The 2nd photo I took was with a Standard Length Lens (50mm). This allowed me to focus more on the main features of the subject.
Points 1 and 2 work hand in hand so if you can combine them together, your Photography will go from good to great!
3. USE PROPS
S/O to Brandon Woelfel, who absolutely transformed the game and helped make buying stuff from the dollar stores cool again!
For this shoot I used Fairy Lights. Very easy to use and it adds a uniqueness to your photos.
In addition to this, you can use:
Glass Prisms (To manipulate light)
Flare Smoke
Sparklers
Candy Floss
CD Discs
Etc
The options are endless!
4. DIFFERENT TIME OF DAY
Different times of the day produce different light. For example, if you were to take photos during sunset, you’ll get significantly more colour and vibrance in your images than if you were to take it during midday. Every photographer has their own style; find yours and stick to it. Once you have a theme and a time of day, your feed will look dope!
5. SHOOT IN RAW
RAW, RAW and RAW.
Shoot in RAW!
RAW is basically an uncompressed image file that the camera produces. Taking photos in RAW allows you to manipulate your photos with more precision and gives you more flexibility while editing.
If you shoot and edit JPEG, you are basically editing an already compressed file, where the colours have been set and if you were to change it, the quality and data of the image would dramatically decrease. In other words, all editing in JPEG is destructive.
ADVANTAGES OF RAW:
Higher Dynamic Range to Edit
Highest Quality Image
Non-Destructive Editing
DOWNSIDES OF RAW:
File Size
Needs to be processed
Check out this before + after
I really hope that this will help you guys out! I would love to see your work so if you use any of my tips, tag #lkay0toptips @l_kay0.
Have a great week!
Laurence


